

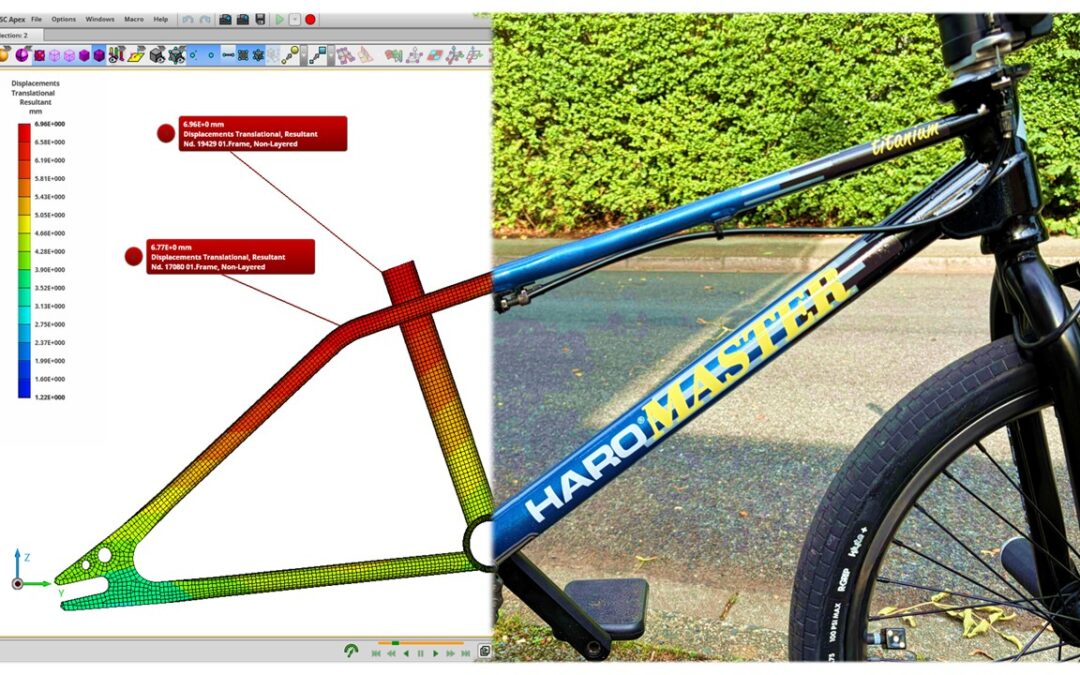
This article describes the full development process of a novel titanium flatland BMX frame, focusing on 1) the reverse engineering of a legacy steel frame, 2) the design, simulation and optimisation of a new concept, through to 3) physical manufacture and 4) testing.
It was written with me wearing two hats – a simulation engineer, and a flatland BMX rider, both disciplines that I’m passionate about.
The article contains 1600 words.
I’ve ridden flatland BMX most of my life – it’s the perfect combo of action, artform and creativity. I really got back into riding a little over 5 years ago when I decided to put together my dream bike for my 50th birthday.
This resulted in me getting hold of a 2017 Haro Lineage Flat Master frame – one inspired by the 1987 Haro Master, a bike I owned in the 80s, albeit now with modern geometry and component fit. The modern frame was built up with components I had laying around, and a new bike was born.
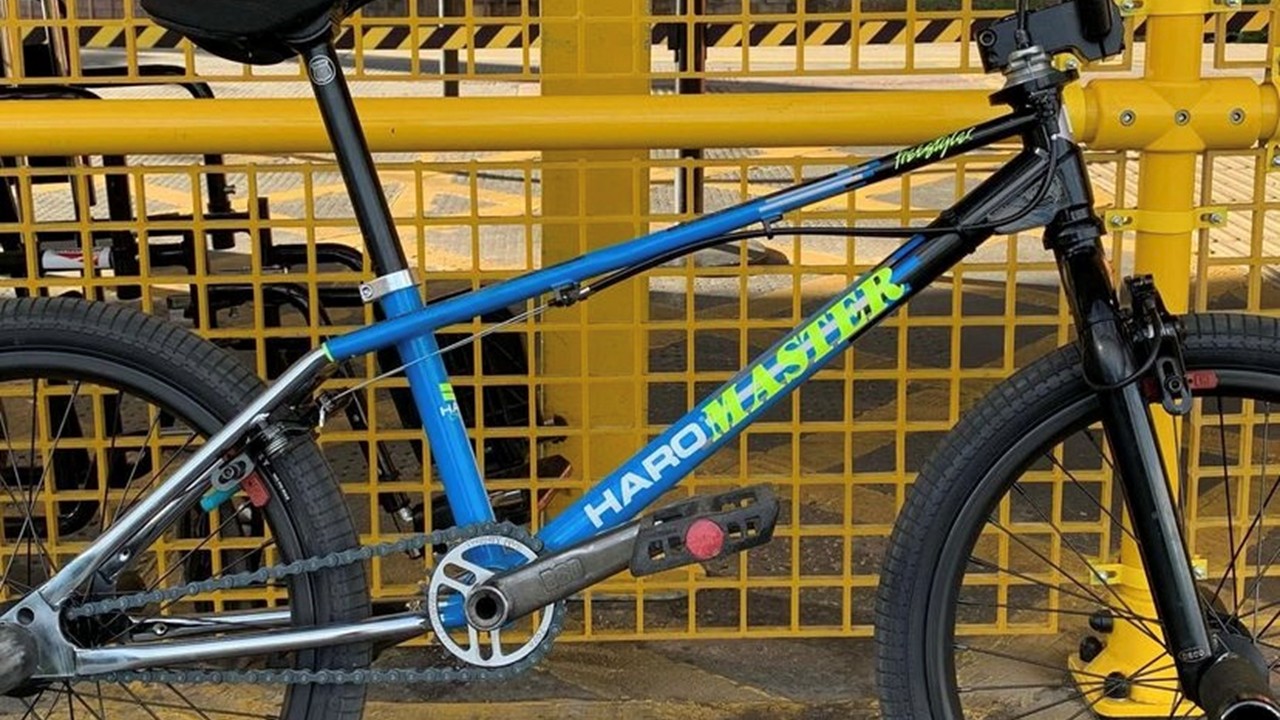
The 2017 Haro Lineage Flat Master Frame
Background
Around that time, I was working with a company on reverse engineering, where a physical component gets scanned, turned into a CAD model, then developed with structural simulation using FEA. While this ‘scan to simulation’ capability was a new string to my bow (certainly in terms of my FEA consultancy), I couldn’t share anything due to the market sensitivity of the product.
I put two and two together, and realised, “ah hah” I could do similar with the Haro Master frame and get a nice little case study out of it. So, after tapping up a few industry contacts, the frame was scanned, turned into CAD and developed into a pretty sexy FEA case study.
You can see more on the ‘scan to simulation’ workflow here.
So that was that. I had a nice case study to advertise my professional wares, and a shiny new bike to ride. Time passed, I got ‘some’ of my flatland skills back and all was good with the bike.
However, being a tinkerer (my garage workshop is very ‘Instagramable’!), I was always shuffling different parts to make the ride better and the bike cooler. One aspect that has always intrigued riders of all kinds is bike weight, and I am no exception. Carbon rims, tiny 145mm cranks, 1.75” race tyres and superlight tubes were all added to get the weight down. There were lighter frames out there, but I really wasn’t interested in losing the look and feel of the cro-mo steel Haro Master.
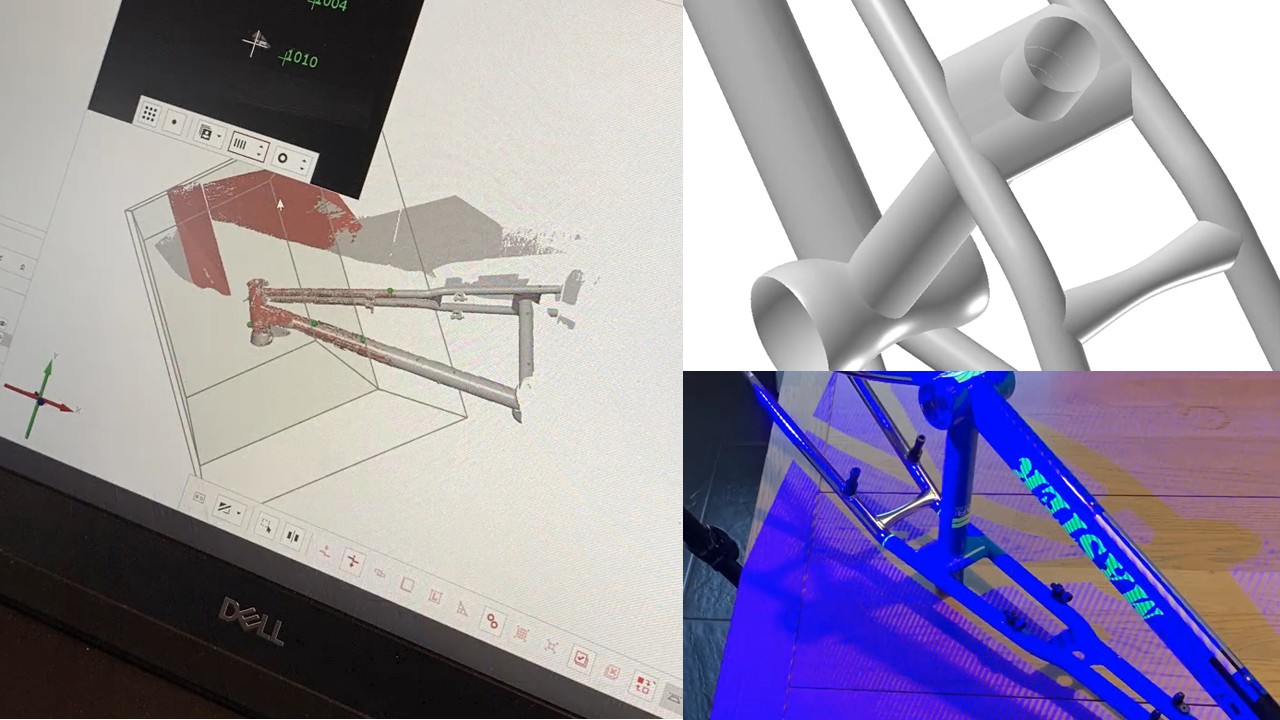
The ‘Scan to Simulation’ Workflow
Enter WLDLFE…
I was watching a random BMX YouTube channel one evening, and heard a chap called Roscoe Siebers talking about custom Titanium frame manufacture through his company WLDLFE. I did some digging and discovered that he was in the UK. A couple of DMs and a phone call and the seed was well and truly planted. Roscoe said he’d never attempted a build like the Haro Master (it has a double top-tube, which is pretty rare in modern BMX), but was up for the challenge.
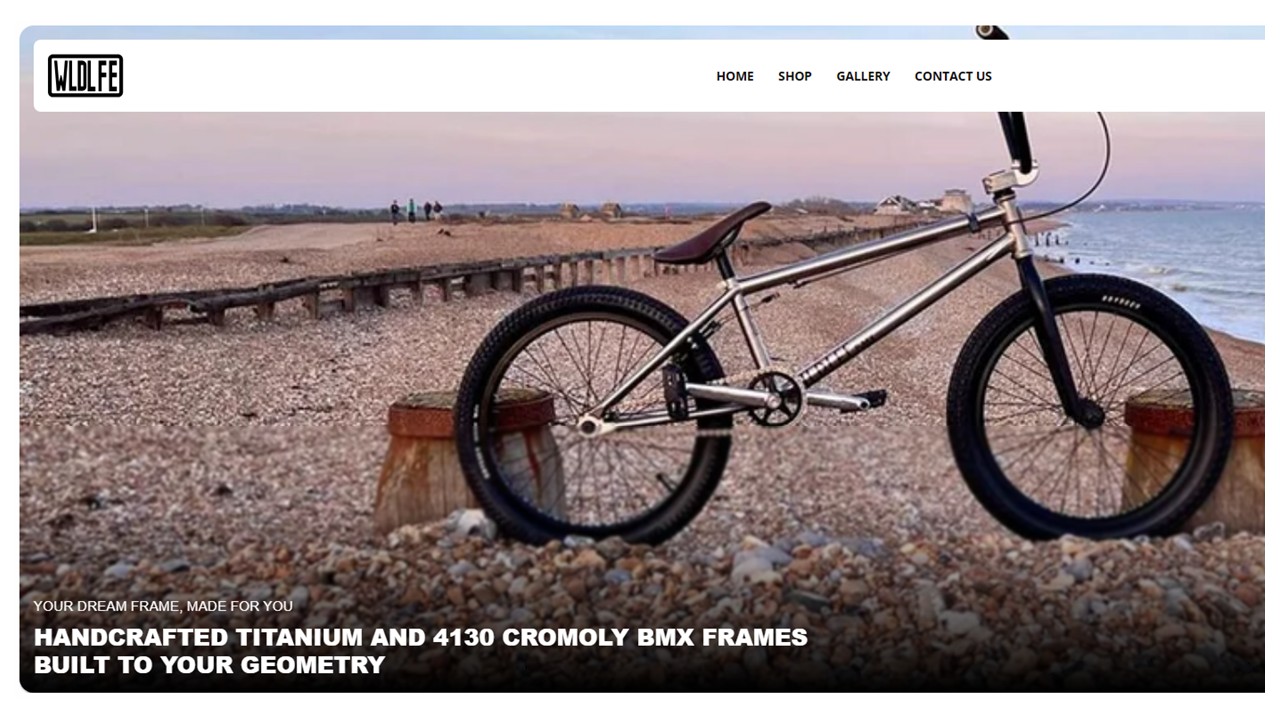
WLDLFE.com
Titanium
Titanium has become a more common choice in BMX of late, usually with younger (lighter) riders, and those focused on weight saving. That said, given its costly tube price, more involved processing, and need for welding expertise, Ti frame builders, especially around BMX and in the UK, are few and far between. Consequently, most Ti BMX frames and components arrive in Europe from the Far East as unbranded ‘white label’ products, with the more familiar brands simply popping their own stickers on them.
I’m certainly not suggesting that these frames are junk but given the lack of traceability from design to manufacture to sale, ‘traditional’ Ti has never been on my radar. Couple this with horror stories I’ve heard around expensive Ti frames arriving with the wrong geometry/tube dimensions, incorrect fit, and even squashed stays, there’s certainly room for improvement.
Roscoe is very different. He has a long career in welding and fabrication, multiple years working as a Ti frame builder (under a larger road bike company), and very professional workshop and web set ups that scream “I know what I’m doing!”. With a combination of Roscoe’s manufacturing experience and my skills around engineering design and simulation we set to work.
The Design Brief
The brief was simple – design and make a custom Ti frame with the feel of the original Haro Master cro-mo steel version, but with the potential massive weight saving that Ti might be able to offer. Oh, and if we’re going to all this effort, make it look beautiful too!
Modern cro-mo steel BMX frames have developed over years of riding – breaking, tweaking, breaking and tweaking again to evolve into something pretty much bulletproof. The frames of today are way stiffer, stronger and lighter than their 80s ancestors. With the exception of a spot of investment casting here, and tube butting there, modern frames have pretty much converged into a stable design that does everything.
In a market that’s not so driven by constant change as seen in the road, gravel, and, ahem, mini-velo (yuk!) bike trends of recent years, Ti is a breath of fresh air for BMX. That said, it does have very different mechanical properties to the best that steel has to offer. The pros are definitely around improved strength (~90% increase in yield stress) and weight (~44% reduction in density). The major con is the additional flexibility (~44% reduction in elastic modulus).
Steel vs Titanium – Comparison By Analysis
Fortunately, with a scanned 3D CAD model of the steel frame, along with tube wall thickness from the original manufacturer’s drawing, I had everything needed to build finite element analysis (FEA) models of both the steel and titanium frames. This kind of structural simulation was very important to allow an objective comparison to be made.
One area that’s always difficult to gauge in any form of riding is the load level that’s experienced, irrespective of whether you’re jumping off a roof, riding a mountain trail or spinning in a car park. This can be handled by using ‘unit’ load cases and comparing the response of each frame.
The unit load method applies the same load (in this case 1KN) to each frame and compares the stress and stiffness distribution. This is repeated for different load types, based on a selection of typical loading actions, such as horizontal load through the fork, vertical load through the seat, and sideways load through the bottom bracket.
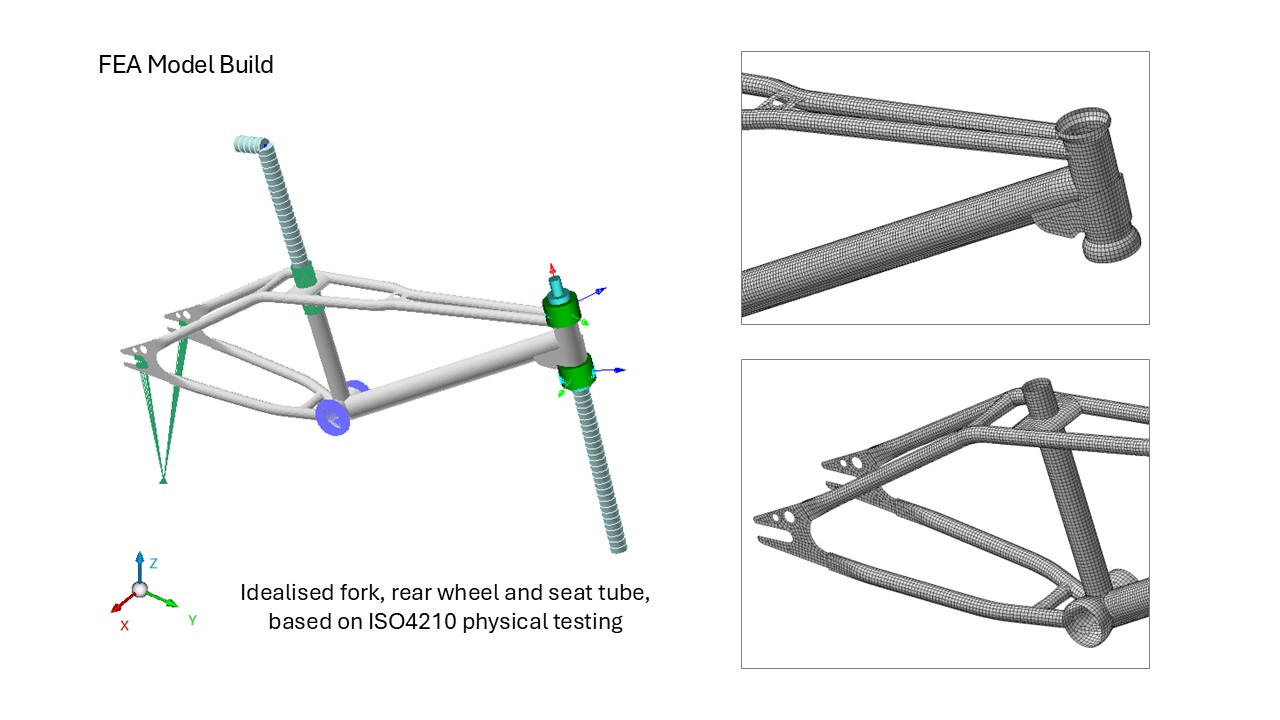
FEA Model Build
With this simulation complete, it was clear that the titanium frame would offer a considerable reduction in mass at a calculated 1.4Kg, compared with the 2.4Kg of the steel frame. The strength of the titanium frame was also significantly higher, determined by comparing the peak developed stress in each frame with the yield stress.
The downside, however, was that the titanium frame was significantly more flexible than the steel version. The obvious design change to improve stiffness without affecting mass would be to use bigger diameter tubes with thinner walls. Great if you’re designing a frame from scratch, but tricky in my case, as I was trying to maintain the design aesthetic of the original frame.
After speaking with Roscoe we were able to increase the chain stay diameter to improve things, but the titanium frame was still a fair bit more flexible than the steel. Oh well, this was something I would have to live with, although I was safe in the knowledge that there was that huge increase in strength, so nothing was going to break.
You can see the in-depth FEA study here.
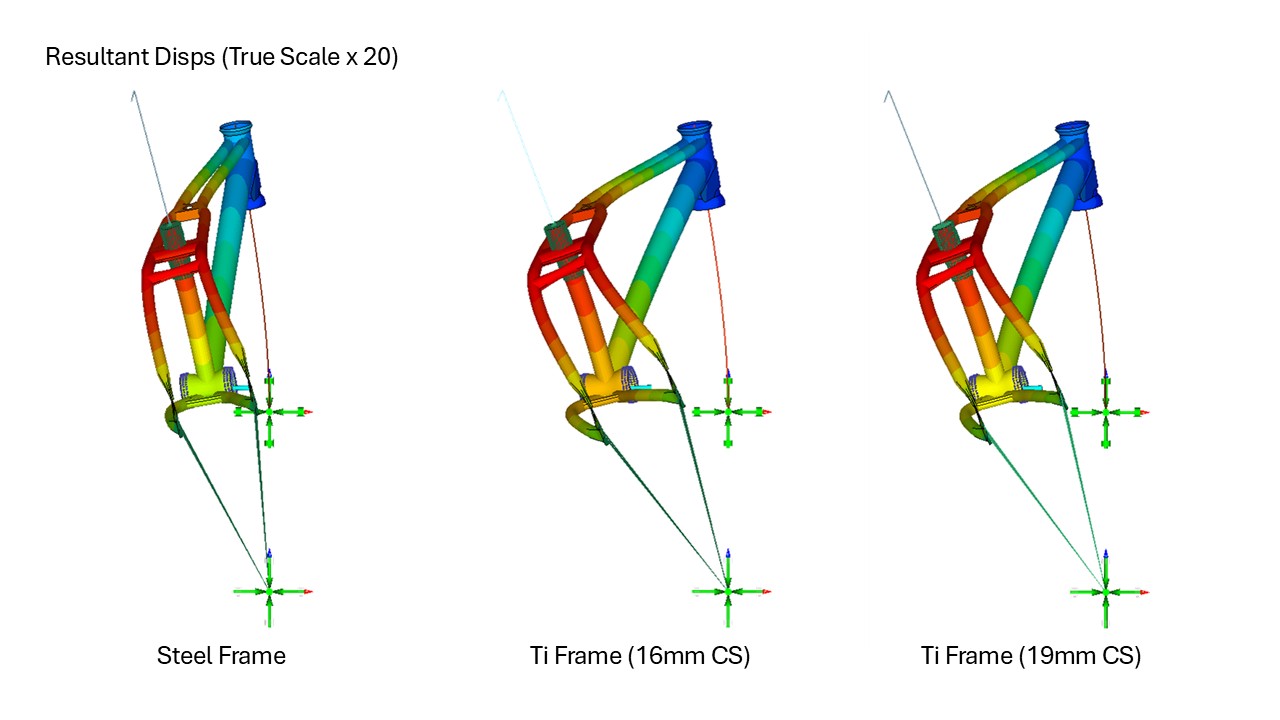
FEA Model Output
Manufacture
So, with the design and simulation complete, it was over to Roscoe to work his magic. With a combination of CAD drawings and a physical frame to copy, he was able to set up the assembly jig to match the desired geometry perfectly. With titanium tubes cut, bent and mitred, the frame gradually began to take shape.
Although Roscoe is over 300 miles away from me, he kept me in the loop with regular updates and pictures to whet my appetite. Finally, after a few months (perfection can’t be rushed), it was ready!
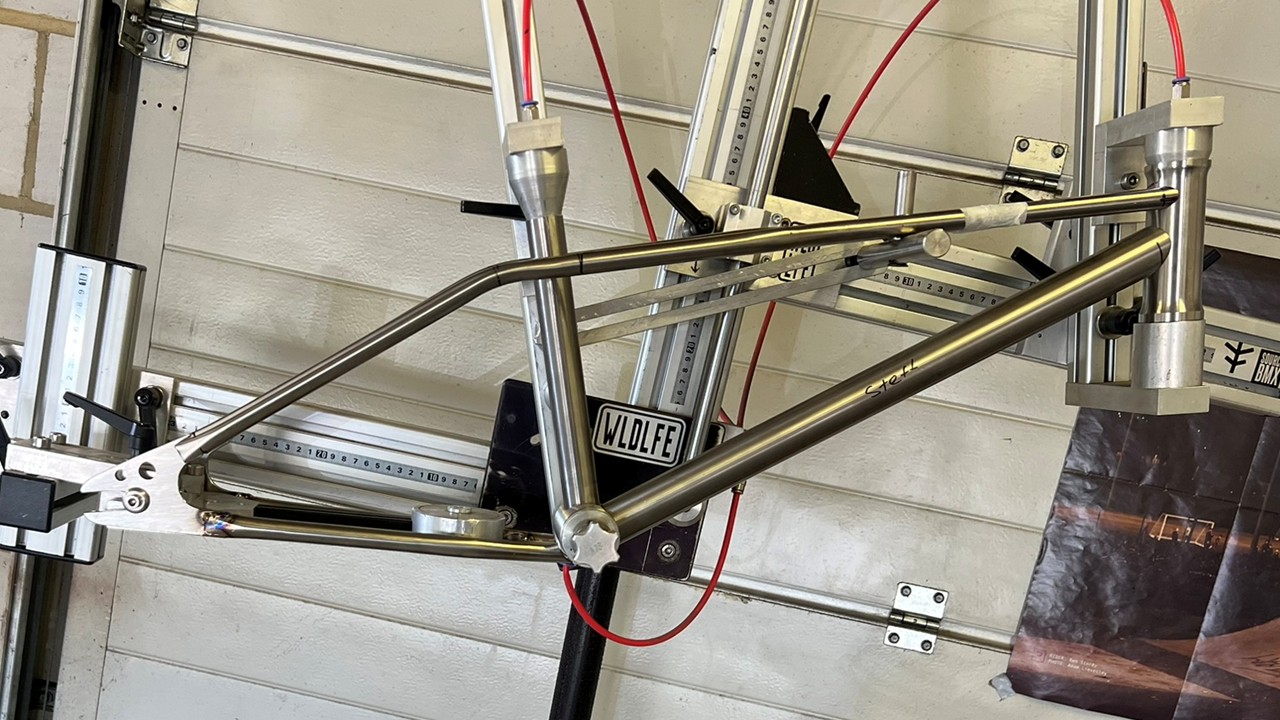
Titanium Frame Manufacture
One of the key aspects of the original frame was the paint and graphics. Sure, raw or polished titanium is nice, but it doesn’t give the ‘80s feel I was after. We looked at a few options including titanium anodising and powder coating, but they didn’t cut it.
In the end, we went for a ‘2k’ paint system, which came with an inbuilt hardener to create a finish that was beautiful and durable. Multiple coats of etch primer, base primer, two colours, custom graphics (printed in Thailand), and clearcoat applied over many days, and we were done. The rear triangle was left raw, which gave both a nod to titanium and the chrome plate used in the original Haro frame.
The Result
All that was left was to build the bike. And what a bike! The weight difference was shocking, with pretty much a 1Kg saving over the original bike. The build quality was incredible, with a bunch of small, hardly noticeable design details that Roscoe included, not to forget welds that would win a beauty contest. And the look and feel? Well, I’ll let you decide, but it’s the most beautiful flatland bike I’ve ever seen.
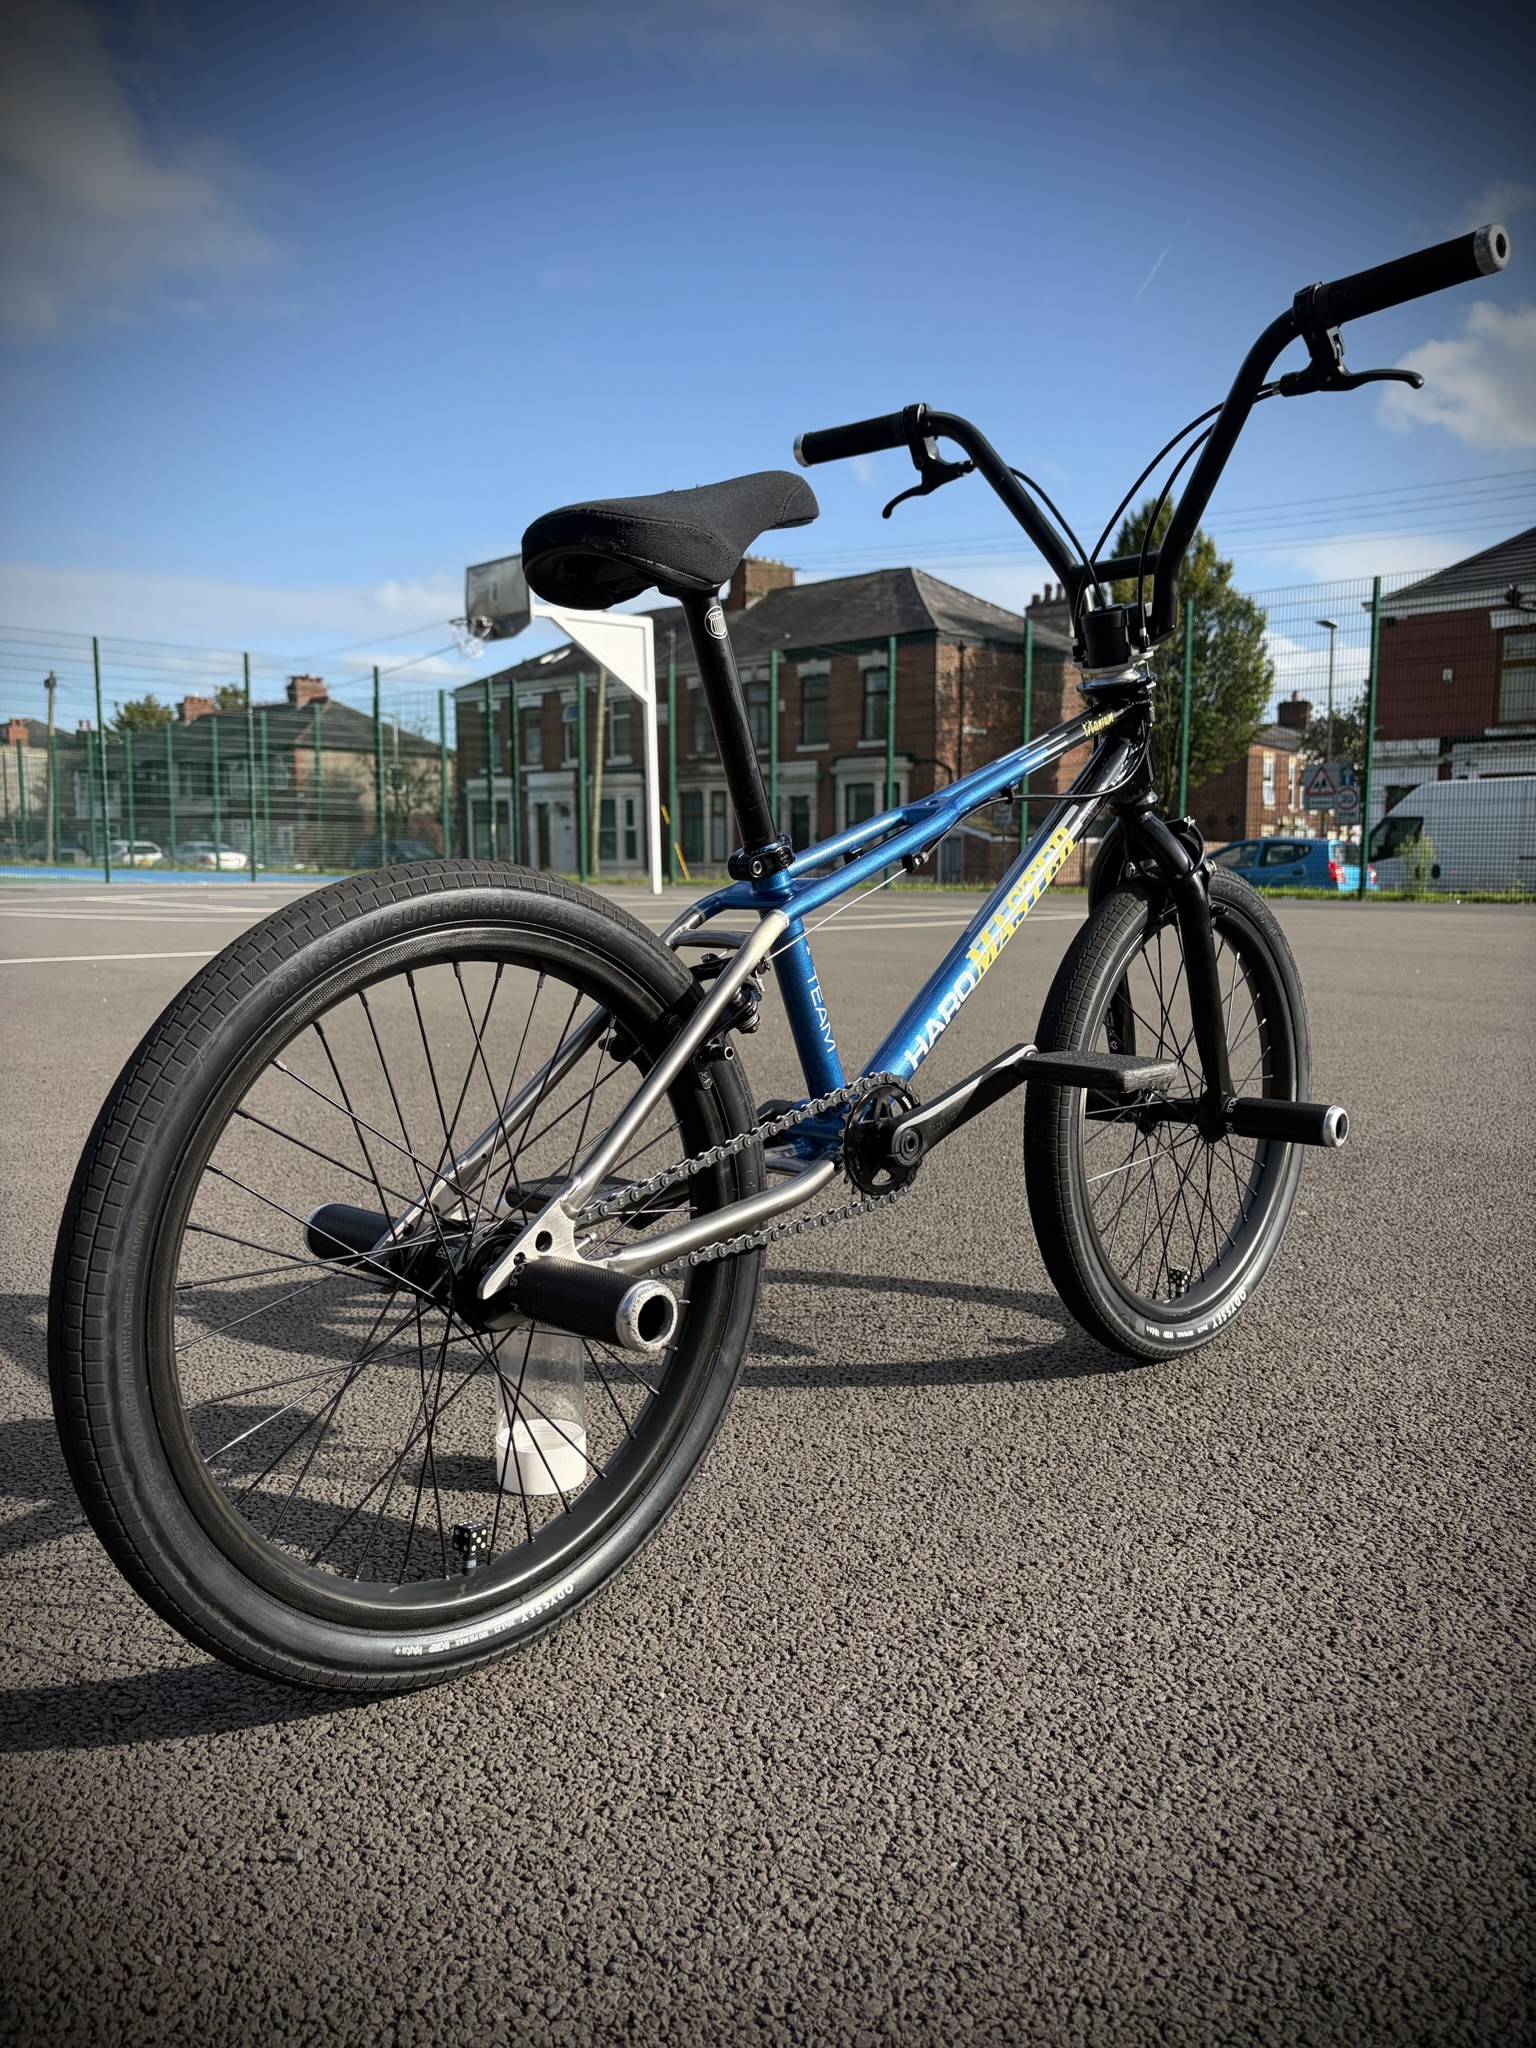
The Finished Article (and yes – she’s beautiful)
And the ride? The weight difference definitely took some getting used to, but after a few sessions, I was able to Pinky Squeak to my heart’s content! The reduced frame stiffness predicted by the FEA wasn’t really apparent for the full bike, as it was masked by other less stiff components, such as bars, wheels and tyres.
So, if you’re thinking about making the switch to Titanium, I’d certainly recommend it – just make sure that the design is sound, and it’s built by someone you can trust.
The Bike (and me) in Action
Oh, and if you have a project which would benefit from structural optimisation, you can drop me a line here.